What is a custom home environment?
We love being able to travel to far-off and exotic places in virtual reality, but wouldn’t it be great to just be able to live in any of those places? That’s not likely coming soon, but it turns out you actually can swap out your home with a custom home environment of your choice without spending a dime. Of course, this doesn’t affect your real home! Instead, this is referring to the home environment you enter when you put on your headset.
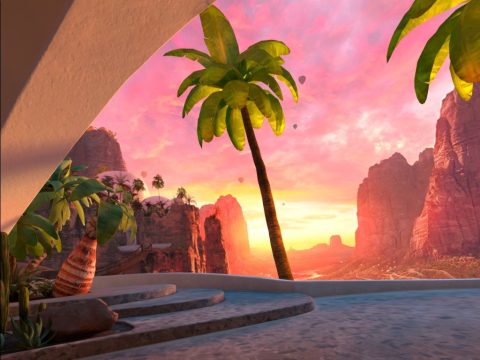
If you have the Oculus Quest 2, you are likely accustomed to the terrace with the desert mountains in the background. You may just think of this as “what VR looks like,” but you can actually switch it out for a number of different settings from both fiction and real life. It would be great if you could just take Pompeii, Stonehenge, or other VR experiences and set them as your home, but instead you’ll need to choose from locations specifically made for this purpose.
Most headsets have at least a few official environments to choose from, but if you really want to personalize your space, you’ll want to learn how to take advantage of the growing collection of user-made custom environments. Choosing one of these and setting it as your home is your first step in a more personal VR experience.
Whether you’re using an Oculus Quest 2, the Valve Index, a Windows Mixed Reality headset like the HP Reverb G2, or almost any other headset, you have the option to change your home environment, although the exact selection and the steps to achieve it will vary. If you’re really ambitious, you might even be able to make your own environment, though that’s pretty advanced for most people. Read on to find out how to update your home for your headset.
Oculus Quest 2
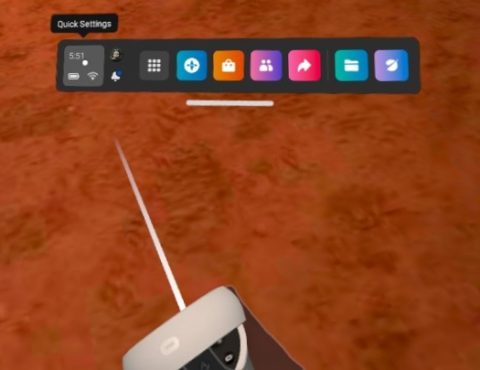
In the Oculus/Meta Quest 2, you can update to a selection of home environments from your settings. Environments take up additional space on your device and need to be installed first, but this is made easy through the same interface. There are five steps to switching out environments. Let’s give them a try:
- Click the Oculus (
) menu button on the right controller
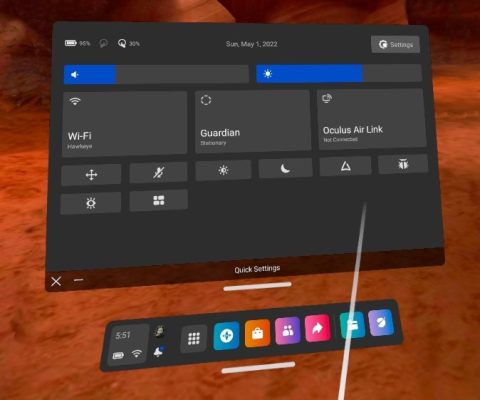
- From the menu bar that appears, click the panel showing the time on the far left (Quick Settings)
- In the upper-right of the Quick Settings window that appears, click Settings
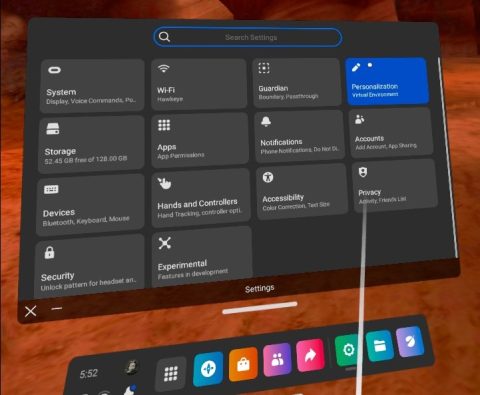
- Find and click the panel with Personalization (upper-right at time of publish)
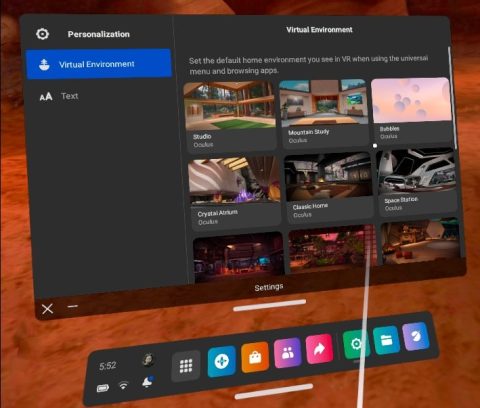
- Click Apply on any installed environments. If one is not installed, it will provide a button to Install, after which you can Apply to set it.
That’s it! There are about a dozen environments to choose from, and new ones are made available from time to time. Certain apps or games that you get from the store actually include a related home environment as a bonus, so look for that. Since environments take up space just like app/games and media, you may decide you don’t want too many installed, although most of them are pretty reasonably sized.
Custom Home Environments with SideQuest
In addition to the home environments available on the store, there are community members who create custom environments and make them freely available. I’ve come across them on Discord channels, Reddit posts, and various direct internet downloads, but the easiest way to gain access to a good collection of them is by using SideQuest. SideQuest is an alternative app store for Oculus headsets and offers a huge number of both free and paid apps, games, and custom homes. At time of publish, there are over 130 homes available covering a wide variety of themes like movies, cartoons, and TV shows. From our “voyaging” perspective, there are some great natural locations including a cave, a mountain top, and Antelope Canyon.
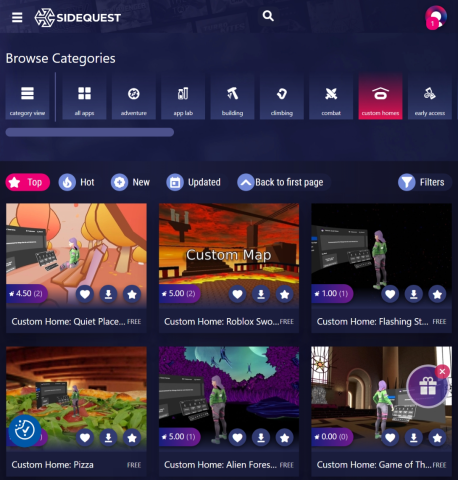
SideQuest is relatively easy to use, but it does require some setup steps before you can use it. You’ll need to install a special driver on your PC (only if you are using Windows), download their tool (Windows, Mac, or Linux), and set developer mode on your device (sounds scary, but it’s painless). You’ll also need to create an “Organization” within your Oculus account. All of this is necessary since Oculus has chosen to prioritize their app store, so you need to do some extra legwork to install things from other sources.
Don’t let these extra steps scare you though! There are easy to follow steps on their site to Download & Setup SideQuest. As long as you take your time and read the steps fully you should be up and going in no time!
SteamVR (Valve Index, Pimax, HTC Vive)
SteamVR is the foundation for most PC-based VR headsets. With SteamVR, the home environment is simply called your Home. Your Home lets you select from your apps, see what games your friends are playing, and display other information as panels on display around your chosen setting. You can personalize your Home with photos and various 3d models. You can also spray paint and otherwise mark your space however you want. It’s way more flexible than what’s available for Oculus Quest 2 and has significantly more environments to choose from.
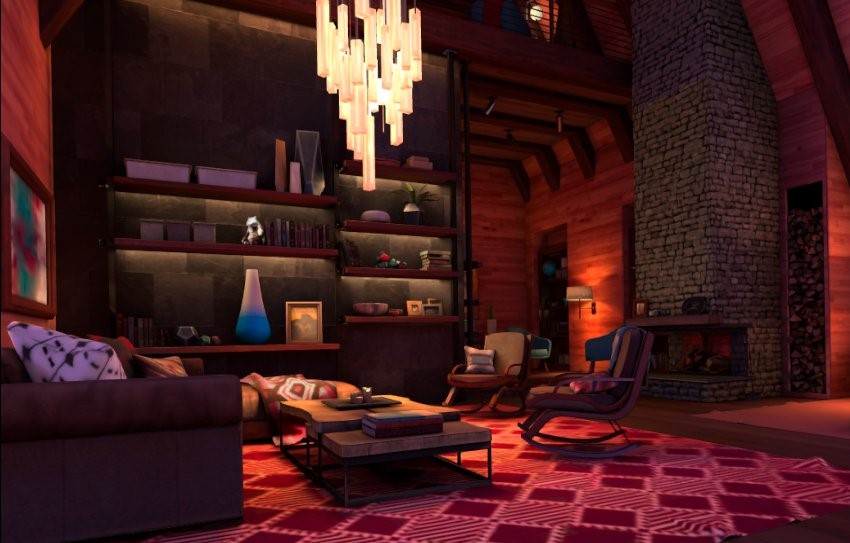
The default environment is Clifftop House. There are a number of other homes to choose from offered by Steam, plus there is a wide variety of homes created by the community (some better than others…). Unlike Oculus, SteamVR homes can be set as private or as a hosted experience for multiple people. When you switch to a different environment, you can choose whether it should be private or shared.
The community options are presented from within VR and don’t require visiting a special web site. These are fun since many are based on popular fictional settings from movies and video games, captured real locations from around the world, or completely made-up based on the creator’s imagination. Spend time in a hobbit house, an abandoned castle, or next to a flickering campfire in a stylized forest.
- Press B on your right controller to open the SteamVR Home menu
Note: This is different from the SteamVR dashboard with your library activated with the right menu button - Click Environments
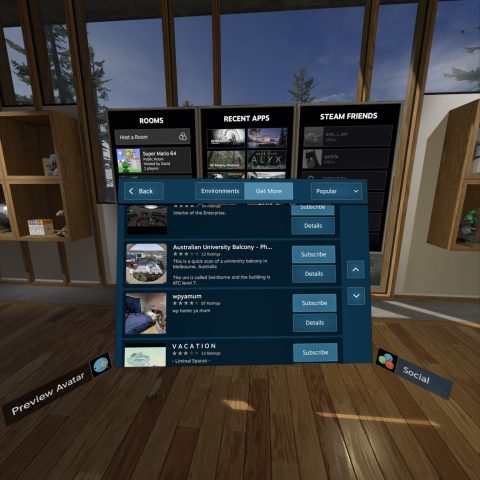
- Browse your installed environments or click Get More along the top to see what’s available for download
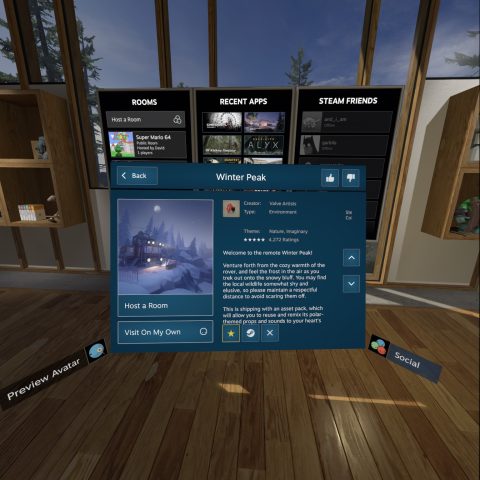
- Instead of an install button, there is a Subscribe button. I’m not clear why there’s the distinction, but it does what you need. You can also click Details to learn a bit more about the item.
From the details view, you can switch to using the selected environment by clicking Visit On My Own. If you want to try a more social experience, you can click Host a Room to allow other people to visit you. Click the star to subscribe without visiting. You can also rate the selection using the thumbs up and down buttons in the upper-right.
Windows Mixed Reality (WMR)
Windows Mixed Reality calls its home environments “Places.” Similar to SteamVR, you can take certain items and “pin” them to your environment. This includes photos for your walls, 3d models like animals, plants, and cars, and panels that represent your apps and games. Unlike SteamVR, you can import your own 3d models into VR as well, although the process isn’t nearly as accessible as it could be. Most people will stick with the ones provided by Microsoft.
Microsoft has only made two environments available with no official way to obtain more. That hasn’t stopped people from filling in the gaps with both new environments and a tool to install them though. While not as convenient as the feature for Oculus or SteamVR, it still works pretty well.
SkySpaces
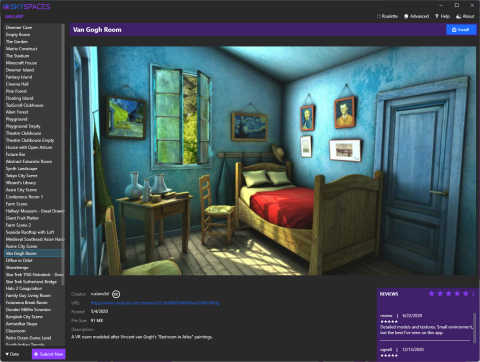
The tool you need to browse and install environments is called SkySpaces. This functions as both a browser and a manager to add or remove new home environments. It’s well done and definitely adds a lot of value to your experience. Using the tool is simple:
- Go to the official download site and click Download SkySpaces now
- After installation, launch it from your Windows Start window (outside of VR)
- Scroll through the list on the left and click on names to preview
- Click Install or Uninstall in the upper-right.
Note: If you’ve already installed an environment, there may also be an Update button here if a newer version is available - Optionally, rate the environments to help the community
Managing your environment/place in WMR from VR
Simply adding new places won’t switch your home in VR, but you’re only a few short steps away!
- Put on your headset and go to your current home environment
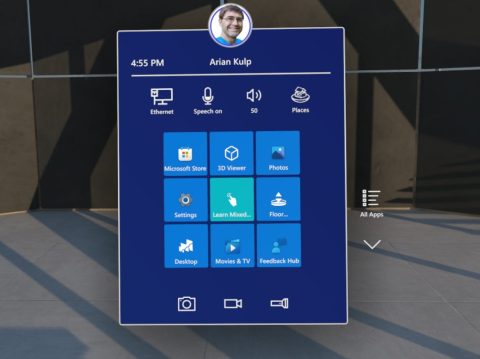
- Press the Start button on your controller
- In the upper-right, click Places
- Use the up/down arrow buttons to scroll through your options
- Click on one to choose it
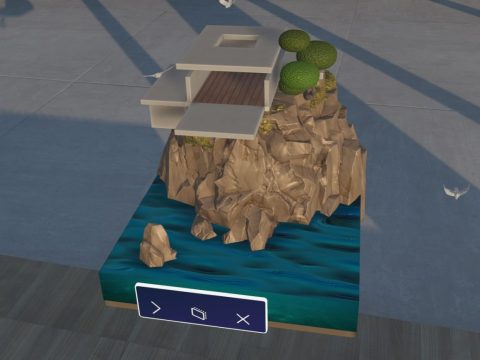
Confused now? Yeah, it’s a bit weird. You don’t actually change environment yet. Instead, you get a miniature model of what you selected as a shortcut. This can be sized or moved anywhere you want in your current home. Unfortunately, custom environments from SkySpaces will probably have a generic miniature model without a label. Microsoft should really add a label here! - Activate the model itself by clicking it
- Enjoy your new home!
The big difference with WMR is you aren’t really choosing a single home environment as much as you are travelling to different places, all customizable, with shortcuts to each other. When you leave VR and come back, you’ll be where you left off, so the difference isn’t very relevant. This way is definitely more flexible, but since most people use their home environment as nothing but a launcher into the apps and games they’ve installed, it feels a bit like overkill.
Conclusion
Even though your home environment is usually just a stepping off point to get into the VR fun you donned the headset for, it’s really fun personalizing it to match your mood or interests. Oculus and Windows Mixed Reality let you watch YouTube and browse the web without entering a separate app, so you just might want to hang out in your location of choice longer. It’s all virtual, so make it yours! Any other tips and tricks for your VR home? Let’s hear them in the comments!

